Reviewed and Approved by Richard A. Boehler, Jr., MSc, Cosmetic Microbiology Laboratory Manager, Certified Laboratories
1-Minute Summary
- USP 71 sterility testing helps ensure products labeled as “sterile” are free from harmful microorganisms.
- There are two primary methods: Membrane Filtration for filterable products and Direct Inoculation (Direct Plating) for non-filterable products.
- Validation and suitability testing are key steps to confirm the accuracy of sterility testing methods.
- Choosing the right method depends on product type and volume. This ensures accurate sterility testing results.
USP 71 Sterility Testing Helps Comply with cGMP Standards
Current Good Manufacturing Practices (cGMPs) require that products labeled as “sterile” be free of harmful microorganisms. USP 71 sterility testing is one microbiology testing method of verifying the safety of your products, including medical devices, cosmetics, OTC products, ophthalmic solutions, injectables, and other products.
This guide offers a detailed overview of the two primary sterility testing methods defined in USP 71:
- Membrane Filtration
- Direct Inoculation (or Direct Plating)
We also cover best practices based on the USP 71 standard. Developing your understanding of these methods will help maintain high standards of product safety and efficacy for your organization.
Certified Laboratories performs sterility testing in accordance with USP <71> Sterility Tests. Our ISO 17025-accredited laboratories use both membrane-filtration and direct-inoculation methods to support regulatory compliance for OTC products, cosmetics, and medical devices.
Overview of USP 71 Sterility Testing
The USP 71 sterility testing standard is applicable to a wide range of products, including but not limited to:
- Injectable solutions
- Ophthalmic solutions
- Medical devices
- Sterile containers
- Personal lubricants
- Compounded medications
- Antimicrobial solutions
- Bandages

If you’re engaged in sterile compounding per USP 797, read about the requirements here.
Personnel Monitoring and Sample Handling in USP 71 Sterility Testing
Before talking about the methods, let’s cover a couple fundamental points about sterility testing. Following these practices minimizes the risk of contamination and maintains the integrity of the testing environment, which translates into increased accuracy of the results.
Personnel Monitoring (PM) and Environmental Monitoring (EM)
Sterility testing personnel must be highly trained in aseptic techniques and environmental monitoring protocols. This includes routine personnel monitoring (PM), such as glove and fingertip checks performed after each test, to prevent contamination from human interaction.
Annual gowning certification is also required. During this process, microbiologists must follow strict aseptic gowning procedures, with RODAC™ agar plates used to sample different gown areas. These plates are incubated, and personnel must meet established PM criteria based on microbial growth levels.
Proper Sample Handling
Introducing test samples into the sterility testing environment is a critical step to prevent contamination.
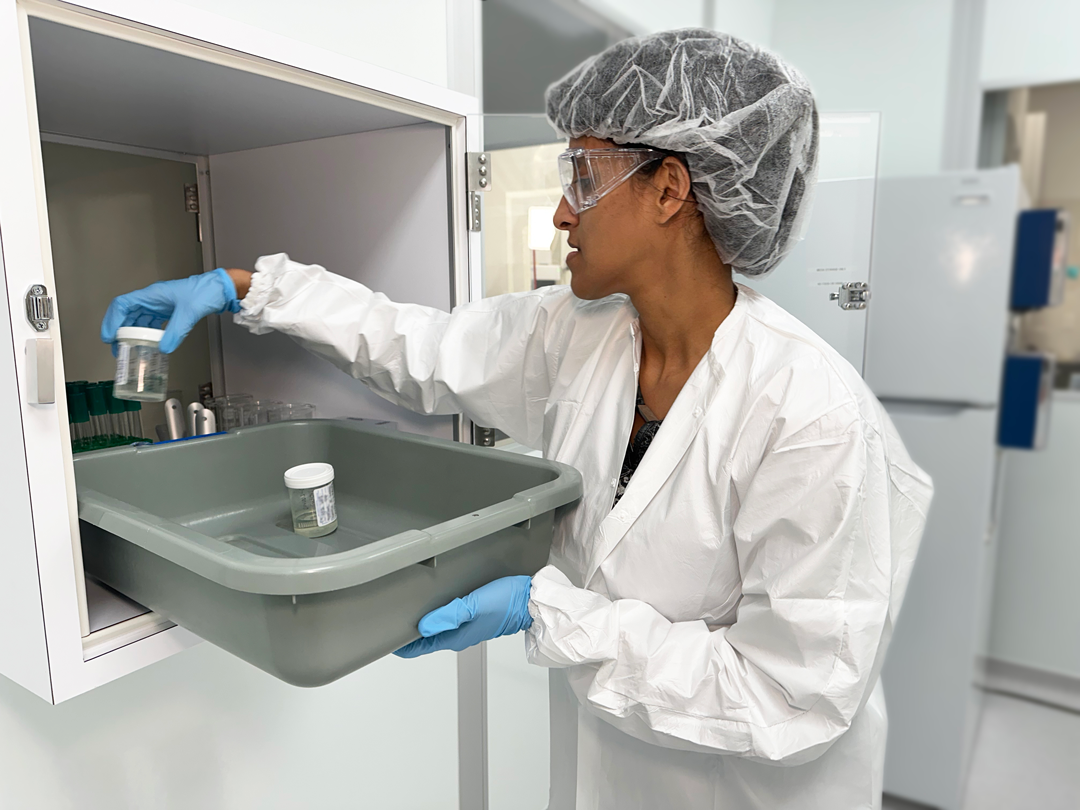
Samples should be transferred using open-slit baskets. These baskets, containing sealed (but uncapped) pharmaceutical vials, should be submerged in a 10% bleach solution.
Once decontaminated, the samples are placed in the cleanroom passthrough or moved directly into the sterility testing area, ensuring they meet sterility testing requirements.
Membrane Filtration Sterility Testing Method
Now, let’s explain the two primary methods of sterility testing, starting with Membrane Filtration – the preferred method when the product is filterable and does not inhibit microbial growth.
This method is particularly suitable for aqueous, oily, and alcoholic solutions, as well as for products that can be dissolved or emulsified. Samples are filtered through a pore size that traps any potential microorganism cells from the product. Rinses help recover any potential microorganisms. During bacteriostasis and fungistasis validation processes, the antimicrobial properties are evaluated to ensure sterility test accuracy.
Step-by-Step Process:
Preparation: First, the lab technician will sterilize the membrane filter (nominal pore size ≤ 0.45 µm) and assemble the filtration apparatus, using proper aseptic conditions. Personnel must also disinfect the testing environment using a rotation of disinfectants, such as IPA, Virex, Triad III, Sporeklenz, and 10% bleach solution.

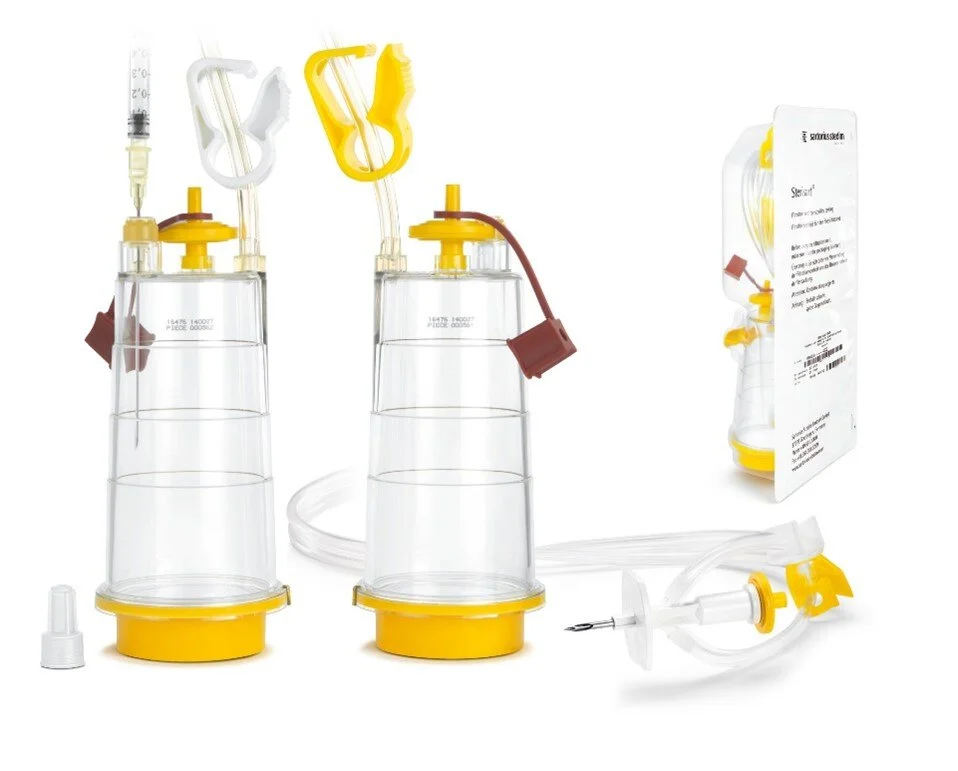
The Steritest® filtration system is commonly used for USP 71 sterility testing. Fluid Thioglycollate Medium (FTM) and Trypticase Soy Broth (TSB) liquid media and rinses are used (Rinse A, Rinse K). It offers precision with different filtration pore sizes, such as 0.45 µm, and a foot pedal to initiate the filtration process. However, there is some debate about using a 0.22 µm pore size since it can be challenging when filtering certain products.
Also, a word about testing each terminal sterilized sublot: If, for example, one lot of pharmaceutical product was manufactured, there may be 20 different terminal sterilization cycles or 5 different terminal sterilization cycles (depending on batch size). Each sublot should be tested as a separate sterility test. The number of vials for the sterility test is dependent on the volume of each pharmaceutical vial and is outlined in USP 71.
- Filtration: The product is passed through the membrane filter. For products with antimicrobial properties, the filter is rinsed with a sterile diluent to remove residual product, ensuring the test’s accuracy.
- Transfer: After filtration, the membrane is transferred to suitable growth media, such as Fluid Thioglycollate Medium (FTM) for anaerobes and Soybean-Casein Digest Medium (Trypticase Soy Broth, TSB) for aerobes and fungi.
- Incubation: The media is incubated for at least 14 days, with recommended daily reads for signs of microbial growth/turbidity. Daily documentation in bound data collection books ensures thorough record-keeping.
It’s recommended to run one negative control for TSB and one negative control for FTM each test day for each microbiologist performing testing.
Direct Inoculation Sterility Testing Method
Direct Inoculation, also called Direct Plating, is used when Membrane Filtration is unsuitable, such as with products that cannot be filtered, like ointments, creams, suspensions, bulk solids, or certain medical devices. In this method, the product is directly introduced into the culture media.
Step-by-Step Process:
- Transfer: The technician directly adds a specified quantity of the product to the culture media, ensuring the volume of the product does not exceed 10% of the total media volume.
- Neutralization: If the product has antimicrobial properties, a neutralizing agent may be added to the media to counteract these effects.
- Incubation: The inoculated media is incubated for at least 14 days. Regular observations are made to detect any signs of microbial growth, and daily records are logged for each test day.
Direct Inoculation is straightforward, but it requires careful handling to avoid false positives or negatives due to the product’s interaction with the media.
View our USP <71> Sterility Tests capabilities here.
After the Incubation Period: What Happens Next?
Once the 14-day incubation period concludes, the lab technician inspects the culture media for signs of microbial growth, such as turbidity or visible colonies. If no growth is detected, the product is recorded as “Sterile.”
If growth is found, additional tests are performed to identify the contaminant, and the testing conditions are reviewed to rule out errors.
Should contamination be confirmed, the product is reported as “Non-Sterile,” and the manufacturer may need to investigate further. If the contamination is due to a test error (such as a cracked canister), the sterility test is repeated, per USP 71 guidelines. If the contaminant matches an environmental monitoring (EM) bug from that test day, the test can be invalidated and repeated.
The entire process can take 3-4 weeks, so plan accordingly when developing your products.
If you’re a 503B sterile compounding facility, read these tips for choosing a lab partner.
Which Sterility Testing Method is Right for My Products?
Selecting the correct sterility testing method is essential to ensure accuracy. The appropriate method depends on the nature of the product being tested. Consider the following:
- Filterable products are best suited for Membrane Filtration, while viscous or non-filterable products require Direct Inoculation.
- Larger volumes and concentrated products may influence the choice of method.
- The expected microbial load can impact the method selection and result interpretation.
Both methods offer reliable results when applied to the appropriate products and performed under strict aseptic conditions.
Our sterility testing laboratory can help you determine which method is suitable for your products.
Validation and Suitability Testing for USP 71 Sterility Testing
Validation is a key part of ensuring accurate sterility testing results. For USP 71 sterility testing, validation includes suitability testing, which ensures that the testing method does not interfere with microbial detection.
Suitability testing (bacteriostasis and fungistasis validation) involves spiking the product with known microorganisms to confirm that the sterility test can detect them.
In Membrane Filtration, the spiked product is filtered, and the membrane is monitored for microbial growth.
In Direct Inoculation, the product is added to culture media to check for microorganism recovery. Suitability testing is required for every new sample, formulation change, or modified testing procedure.
Additionally, as mentioned, each terminal sterilized sublot of a product batch should be tested separately according to the regulatory requirements outlined in USP 71. The number of vials tested is determined by the size of each sublot.
Do You Need USP 71 Sterility Testing?
Our team is available to discuss the best USP 71 sterility testing method for your products. Contact us to talk about your USP <71> sterility testing needs.
